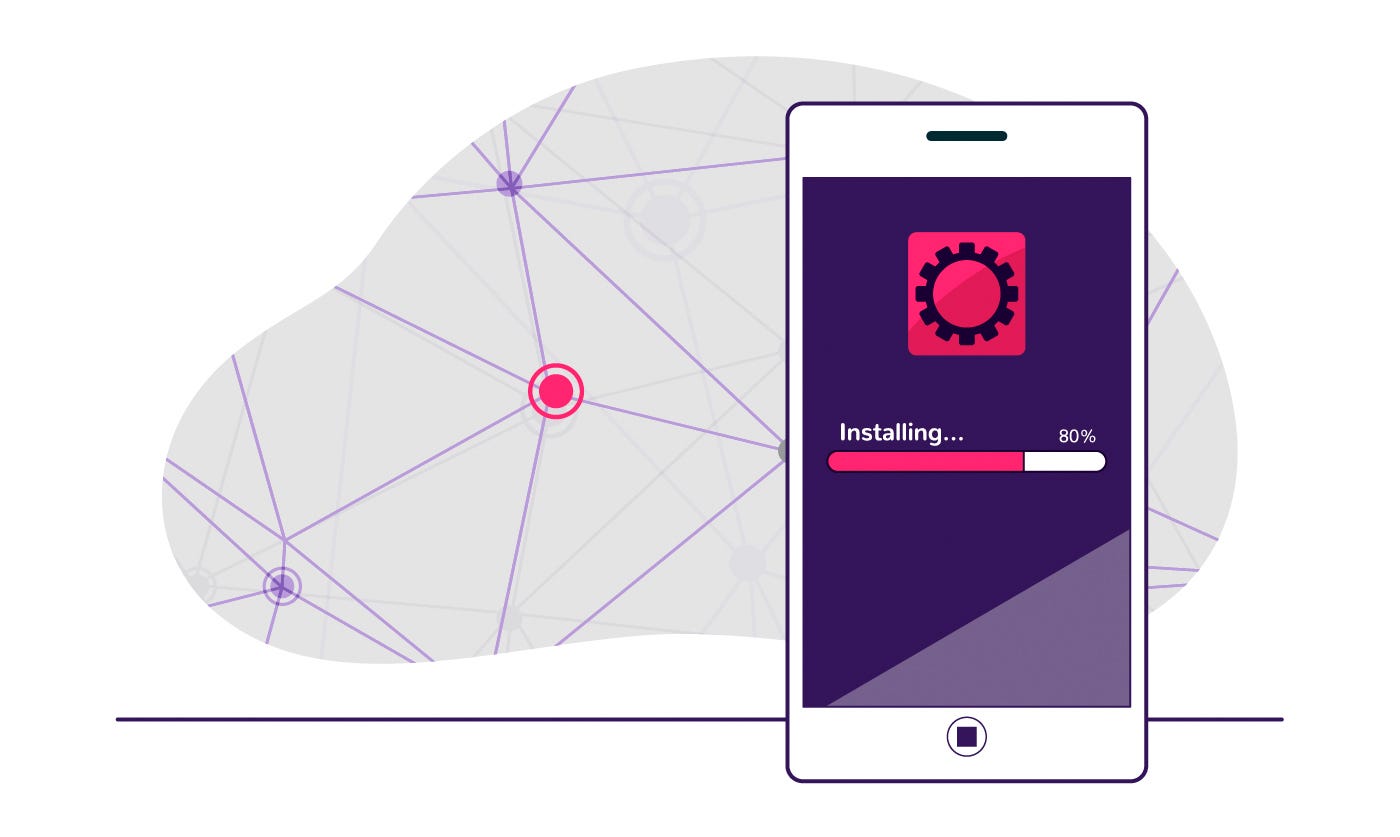
Setting up an AE node doesn’t need to be complicated – here’s how to get your own AE node up and running.

So you’ve heard of æternity nodes and you’re interested in how running one works, and how to go about it. What is an æternity node, though, and why would you want to run one?
Firstly, it’s important to understand what a node is, and what it does. Blockchain networks – including æternity – are decentralized. People around the world help to maintain blockchain networks, participating in the maintenance of networks or helping to secure them. These participants are called nodes.
There are many different types of nodes for the many different types of blockchain networks, but all nodes share a common factor – nodes require specific hardware or software in order to run or connect to them.
æternity nodes help to maintain the æternity network by functioning as a point through which data can be created, received, or passed along to other nodes in the network. æternity community members also maintain the æternity network by running mining nodes, which secure the æternity blockchain.
Running a node requires a little bit of technical proficiency, as it’s necessary to follow a few somewhat tricky steps to set up an æternity node properly. Running a node can also be hardware-intensive – it is possible, however, to run a node on a cloud platform, if you don’t want to bully your laptop.
Why Would I Run an AE Node?
Nodes are very important to the æternity network – the transaction of AE tokens, for example, relies on nodes. æternity community members run æternity nodes for a variety of different reasons. Some æternity enthusiasts run nodes to support the development of the æternity project, while others run mining nodes and receive rewards in the form of AE tokens for their efforts.
Running an AE node delivers significant security benefits. Security-conscious AE token holders often run an AE node and use it as their wallet. Running an AE node is the best and most effective way to make sure the rules of the æternity network are being followed – an AE node allows AE token holders to ensure that payments received in AE are completely genuine and confirmed.
Operating an AE node also delivers a high level of privacy. Running an AE node and using it to store your AE tokens ensures that nobody can draw ties between your IP and your wallet address. Storing AE tokens on Binance, for example, is easier than setting up an AE node – but you’re then forced to trust Binance to keep your tokens safe, and you’re providing Binance with your personal data in order to store AE tokens with the platform.
The æternity platform is highly attractive to æpp developers. The æternity ecosystem, combined with the flexibility and speed of the Sophia programming language combined with the upcoming hyperchains makes æternity the ideal platform for decentralized app development.
If you’re developing an æpp, it’s always best to run your own node to ensure that you will always be able to connect to the æternity blockchain via your node’s API. Setting up a node as an æpp developer not only helps the æternity blockchain become more decentralized and secure, but also balances the load of decentralized applications on the network.
Running an æternity node in specific regions can also have other benefits. Æternity community members located in areas in which æternity needs to establish a stronger network of nodes are often presented with the opportunity to apply for small grants from the æternity foundation for some financial support.
What Do I Need to Get Started With aeternity Nodes?
The first thing you’ll need to get started with your own æternity node is the right hardware, and a good internet connection. Do not worry if your PC is not very powerful. Additionally, we’ll cover cloud-based æternity node setup a little further into this guide.
The basic hardware requirements you’ll need to set up your own locally hosted æternity node are:
- A desktop or laptop with Mac OS X, or Ubuntu.
- A decent amount of free disk space – 40GB or more
- 4GB of RAM.
- An unmetered high-speed internet connection with good a download rate and at least 50KB/s upload speed.
It’s important to note that ideally, you’ll want to run your node 24/7. For this reason, running an æternity node on a laptop isn’t ideal, as you’ll need to keep your laptop open and running all the time.
If you’re planning on setting up a hosted node on Amazon AWS or similar, feel free to skip the next part of this guide, as it’s focused on setting up a node on your own computer.
Setting Up a Local AE Node: Introduction
If you’re ready to get started and set up your own local AE node, you’ll want the æternity node documentation. The node documentation provides a detailed step-by-step guide on how to set up your æternity node.
The basic steps involved in setting up and running your æternity node are:
- Download and install the relevant node binary (software) for the operating system you use
- Install any dependencies – extra bits you might need to run the node. These are Libsodium v1.0.16 and Openssl
- Configure your node
- Run your node
If your computer meets the basic requirements, head over to the æternity node documentation and download the relevant binary and dependencies.
Setting up a local AE Node: macOS
æternity node binaries are available for both macOS High Sierra 10.13 and macOS Mojave 10.14. If you’re a mac user, you can speed up the installation process by opening the macOS Terminal and pasting the following in:
$ bash <(curl -s https://install.aeternity.io/install.sh)
Alternatively, you can head to the æternity GitHub and download the relevant binary.
Next, you’ll need to install dependencies. The easiest way to do this on macOS is through Homebrew, a package manager that simplifies the installation of software.
To install Homebrew, navigate to the Homebrew website and copy the line under “install Homebrew” into the macOS Terminal. Once Homebrew is installed, you can then use the macOS terminal to install the dependencies for your æternity node as follows:
$ brew update
$ brew install openssl libsodium
Next, you need to deploy the node. It’s best to ensure that the partition in which your node directory is to be located has at least 40 GB of free storage, as this is necessary for the æternity chain and log files.
Assuming you downloaded the binary to your downloads folder, open a Terminal and use the following commands. Note: The last command needs to be adjusted to your downloaded node version.
$ mkdir -p ~/aeternity/node
$ cd ~/aeternity/node
$ tar xf ~/Downloads/aeternity-
-macos-x86_64.tar.gz
Once you’ve done this, you’re ready to move on to configuration!
Setting up a local AE Node: Ubuntu
To set up an æternity node for Ubuntu, you’ll need the relevant binary from the æternity GitHub. Dependencies for Ubuntu vary based on the version you’re running.
If you’re working with Ubuntu 18.04, you’ll be able to install libsodium 1.0.16 via apt package manager with the following command:
$ sudo apt-get install libsodium23
Ubuntu release binaries are built with libssl1.0.0 which can be installed with:
$ sudo apt-get install libssl1.0.0
If you’re working with Ubuntu 16.04, you’ll need to install libsodium from source, as it ships with an older version than what is required. In order to install libsodium from source, you’ll need a C compiler and related tools. To install them, you’ll need to run
$ sudo apt-get install build-essential
Followed by:
$ curl -O https://download.libsodium.org/libsodium/releases/libsodium-1.0.16.tar.gz
$ tar -xf libsodium-1.0.16.tar.gz && cd libsodium-1.0.16
./configure && make && sudo make install && sudo ldconfig
Once you’ve done this, you’re ready to move on to configuration!
Setting up a local AE Node: Docker
Docker is a tool designed to package and deploy distributable applications, and is available for a variety of operating systems including Linux platforms, macOS, and Windows 10. In order to set up an æternity node with Docker as an alternative to the previous methods, you’ll first need to install Docker on the machine you want to run your node on.
To get Docker installed, head over to the Docker install guide. You may also want to familiarize yourself with how docker works, and the basics of containerized applications.
To run your node through Docker, you’ll need the æternity node Docker image, which is available via Dockerhub. When running the node container the first time, ensure that you’re running it in foreground mode for easier debugging.
All releases have their own Docker image tag. The latest node release is published under the “latest” Docker image tag, while the master branch of the source code is tagged as “master.” To pull the latest Docker image, run:
$ docker pull aeternity/aeternity
Before running any commands, it’s best to ensure you have the latest docker image.
For details on configuring your node with Docker, scroll down to “Configuring Your Node: Docker”
Note: It’s important to use the Docker -P flag when running the node to publish all exposed ports to the host interfaces. Ensure you’ve checked the configuration section of this guide in order to set up firewall or port mapping to your host machine.
Setting up a local AE Node: Configuring Your Node

Once you’ve installed your æternity node, you’ll need to configure it in order to join a public network of nodes, such as the æternity testnet or mainnet. Node users can change parameters via a config file, which can be formatted in either JSON or YAML.
Where can I Find My Config File?
The location of your config file is determined by its format. You can find your config file in a few different ways:
1. The OS environment variable AETERNITY_CONFIG contains a filename
2. The Erlang/OTP environment variable -aecore config contains a filename
If you can’t find a config file in any of these locations, no user configuration is applied. The contents of your config file are validated against a JSON-Schema, located in the node at path data/aeternity_config_schema.json
It’s important to note that if any of the parameters in your config file violate the schema, your node will fail to start.
Configuring Your Node: Important Parameters
When configuring your node, there are a few important parameters that you should understand.
Configuring Your Node: Connecting to Peers
The most important configuration step is to ensure that your node is able to communicate with the rest of the æternity network. Your node needs to be able to connect to other nodes, as well as accept incoming connections. The more inbound and outbound connections your node has with other nodes, the better the overall functionality of your node will be.
By default, your node will listen on TCP port 3015. If you’re using this port for something else, you can change this via the sync > port parameter in the node configuration file.
Configuring Your Node: Firewalls
If your node is running from behind a firewall, it’s necessary to open the port it uses for inbound TCP connections. As mentioned above, the default port is 3015.
You might need to make sure the port your node uses is open on both the machine you’re running the node on, and any device that routes network traffic to the machine, such as a firewall or a router. If you’re sure that you’ve opened the relevant port on your machine, but are unsure whether the relevant port is open on your router or firewall, check the documentation for the equipment or software for guidance on “how to open a port.”
Configuring Your Node: NAT (Home Routers)
If you are operating your node from behind a NAT – such as a home router – it’s important to ensure that the port is forwarded on the device, This allows the device to accept incoming connections from the internet to the node.
There are many different router configurations. Check the documentation for your home router for guidance on “how to forward ports”
Configuring Your Node: UpnP or NAT-PMP
You might find that your router doesn’t have port forwarding configured, but supports UpNP or NAT-PMP. In this case, your node can provide a UpNP or NAT-PMP service in order to streamline the configuration process.
In order to start a UpNP or NAT-PMP service, you’ll need to check to make sure that either UpNP or NAT-PMP is enabled on your router, then head to your node configuration file. In the config file, set the sync > upnp_enabled parameter to true.
Your æternity node will automatically create port mapping based on this setting in the config file.
Configuring Your Node: Run a Port Check
Once you’ve taken care of the connectivity setup outlined above, you can run your node and perform a general setup validation and configuration correctness check. To check your ports, run an external node port check with the following command. If you’ve changed your default port from 3015, edit the command to reflect the change:
$ nc -zv $(curl -s https://api.ipify.org) 3015
If you’ve configured your node correctly, the output should look something like this:
Connection to 203.0.113.27 3015 port [tcp/*] succeeded!
The IP address shown in this output should be the external IP address of the node under test.
Configuring Your Node: State Channels
æternity is engineered specifically to accommodate state channels on a protocol level, which allows developers to create applications for large scale use cases, such as decentralized exchanges.
æternity nodes provide infrastructure for using state channels through two separate protocols – WebSocket client, and noise encoded. This guide focuses on Websocket client setup for state channel use.
To connect your node as a WebSocket client, you’ll need to set up a port and a host for the service to listen at. This is a private node setting – you’ll need to secure access to this.
You can set your TCP port using the config parameter websocket > channel > port. The address that the service will be listening is defined with the parameter websocket > channel > listen_address . It’s important to note that this address has a default value of 127.0.0.1, preventing the WebSocket endpoint from being exposed, with the intention to let only your machine have access to your node’s state channel functionality. This can be changed at your own risk.
Configuring Your Node: Network ID
The network your node connects to is important – for example, this will determine whether you’re connecting to the æternity testnet or the mainnet.
The network your node connects to can be changed via the setting “fork management > network_id” in the configuration file. By default, your node will be preconfigured to connect to the mainnet with the network ID “ae_mainnet”
If you’d like to connect to the testnet, which is referred to as “ae_uat”, you’ll need to alter the network ID setting to connect to “ae_uat” in the configuration:
fork_management:
network_id: ae_uat
Configuring Your Node: Peers
Peers is a list of nodes that your node will try to connect to. If the “peers” key isn’t set in the configuration file of your node, this peers list is automatically determined based on the Network ID configuration in the above step. This automatic determination works for both mainnet and testnet.
If you want to prevent your node from initializing any outgoing connections to any peers, you can set it to an empty list:
peers: []
This doesn’t prevent your node from accepting incoming connections, so it may still be connected to a network if the address of your node is already known in that network.
Configuring Your Node: Data Persistence
æternity nodes support three types of database persistence backends:
- RocksDB, which is available only for Unix compatible systems such as OS X and WSL, and is used by these systems by default. Note that RocksDB doesn’t work with NTFS volumes
- Leveled, which is designed as an improvement on RocksDB, and is available for all operating systems but currently only offers experimental supports
- Mnesia, which is the DB backend distributed with Erlang/OTP. Mnesia is considered less efficient than the other two options, and is set as the default database when RocksDB is unavailable.
You can select the database backend with the chain.db_backend setting, using the values rocksdb, mnesia, leveled
If you’re using RocksDB, it’s important to ensure that chain.db doesn’t point to an NTFS volume. It’s not possible to switch the backend of an existing database, nor is it possible for two node instances to simultaneously work with the same database files. It is possible, however, to create snapshots that can be used to speed up the syncing of new nodes.
Note that upgrading a node will automatically upgrade the database structure. Downgrades require an empty database and a full new blockchain re-sync.
The initial blockchain sync for a new node may take a long time, and relies heavily on available computational power and hard drive speed. Similarly, restarting a node may take some time on some configurations due to database consistency checks.
Configuring Your Node: Docker
If you’ve set your node up via Docker, configuration works a little differently. The default node configuration is sufficient to connect to the mainnet:
$ mkdir -p ~/.aeternity/maindb
$ docker pull aeternity/aeternity
$ docker run -p 3013:3013 -p 3015:3015 \
-v ~/.aeternity/maindb:/home/aeternity/node/data/mnesia \
aeternity/aeternity
Your console output should present a lot of information related to syncing with the network.
In order to make the Docker setup run in the background, adjust the last command of the above as follows:
$ docker run -p 3013:3013 -p 3015:3015 -d \
-v ~/.aeternity/maindb:/home/aeternity/node/data/mnesia \
aeternity/aeternity
Please node that depending on your Docker’s setup, the node might start automatically with every system boot. However, you can get a running list of docker containers with
$ docker ps
and stop a container with Docker’s stop command.
To change the node configuration of a node running through Docker, you’ll need to use a Docker bind mount to mount the configuration file to a special path on the container(/home/aeternity/.aeternity/aeternity/aeternity.yaml).
You can then edit your configuration file in accordance with the configuration steps outlined above.
Blockchain data is persisted, by default, at /home/aeternity/node/data/mnesia located within the Docker container. If you’d like to persist blockchain data in a different directory on the host machine, you’ll need to use Docker volumes.
Replace ~/.aeternity/myaedb with the directory that you want data stored in. It’s important to note that you cannot switch networks while using the same database.
Operating Your Node
Now your node is installed and configured, you’re ready to fire it up! This stage of the node guide assumes that your node is:
- Deployed in the directory
~/aeternity/node; - Deployed without specifying custom peers
- Configured to ensure the external HTTP endpoint of the user API of the node can be contacted at 127.0.0.1 port 3013
If any of these factors aren’t set up or you’re not sure, double-check your configuration settings as outlined previously.
Operating Your Node: Start Your Node
Before starting your node, it’s recommended that you ensure your computer has at least 4GB of memory available.
When your node starts, it will check the maximum number of open files and warn you if this parameter is below the recommended limit. Sufficient max number of open files is essential to managing network connections – it’s important to configure this parameter in the session in which you start the node with ulimit -n
To start your node, run:
$ cd ~/aeternity/node
$ bin/aeternity start
To stop your node, run
$ bin/aeternity stop
From the same directory.
To verify that your node is active, check the current top of the blockchain as seen by the node:
If your node is unresponsive, you’ll need to check the log directory for errors.
Operating Your Node: Check Mainnet Connection
To verify that your node is connected to the mainnet, your node should see the same longest blockchain as the mainnet. To check this, you’ll need to inspect the current top of the blockchain as seen by the mainnet:
Then, inspect the current top of the blockchain as seen by your node:
If the height is the same, congratulations – you’re connected to the mainnet! Note that it may take a few moments for your node to catch up with the mainnet blockchain.
Key Takeaways
If you’ve followed the above steps correctly, you’ll have successfully installed, configured, and launched your own æternity node. If you’ve run into any roadblocks, don’t panic – the æternity community is ready to help you get set up via the æternity forum.
Feel free to reach out to the æternity community with any questions or issues you may have with running your æternity node. You are now ready to build and deploy decentralized applications on æternity!
Interested in æternity? Get in touch:
GitHub | Forum | Reddit | Twitter | YouTube | LinkedIn | Telegram
Leave a Reply